After much deliberation and yet more procrastination, I've decided to blog about my attempts to bake bread. For this first post, I baked a rye porridge bread and a double fermented rye porridge bread based on the recipes in “Tartine 3” as well as one of my favourites the five grain leaven from “Bread” by Hamelman.
I've been baking with a sourdough starter for about two years now. Initially, I was inspired by watching River Cottage and I saw a recipe and thought about trying to make a starter. After about a months worth of trying, troubleshooting and many mixtures that smelt like paint, I stumbled upon a great site with photos of every step and suddenly we were up and running. My current starter, began about a year ago using the pineapple juice method mentioned in Reinhart's “Wholegrain Bread”.
The starter lives on my kitchen counter and gets feed daily. I've considered naming these friendly micro-organisms but this is difficult as there are a lot of them. Instead I refer to them collectively as the yeastie-beasties. Each day, I take a little of the starter and discard the rest. The remaining starter gets feed water, wholemeal flour and white flour at a ratio of 1:4:2:2. That is 10g of starter, 40g water, 20g wholemeal flour, 20g white flour. For two or three days before making bread the starter gets fed twice a day.
 |  |  |
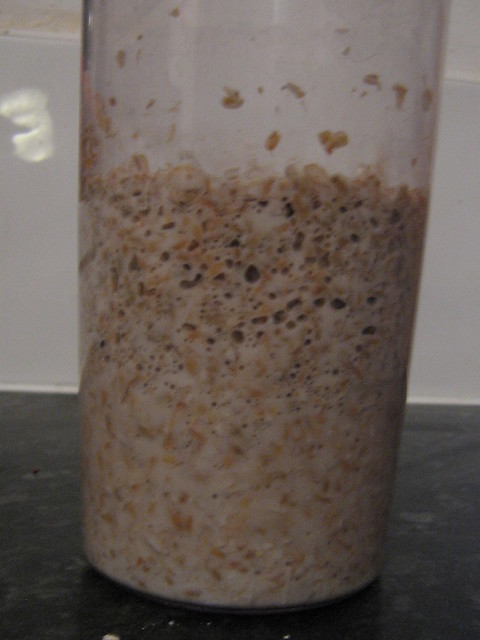
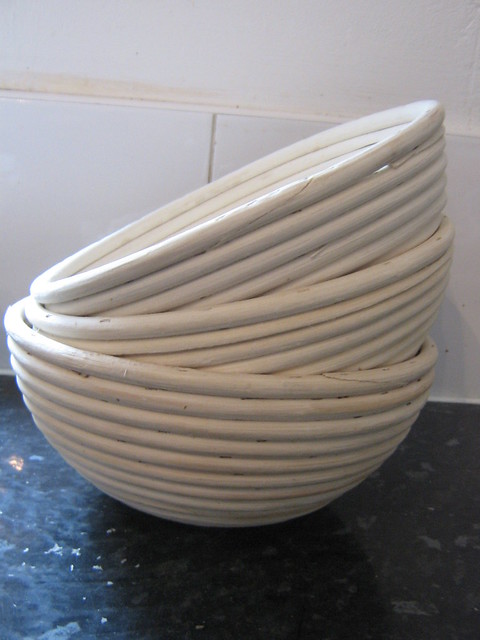
The night before I make the bread, the leaven needed to be built. I checked that the starter is ready to use by putting some in a glass of water. If it floats it's ready, if it sinks – either it's not ready yet or it's too old.
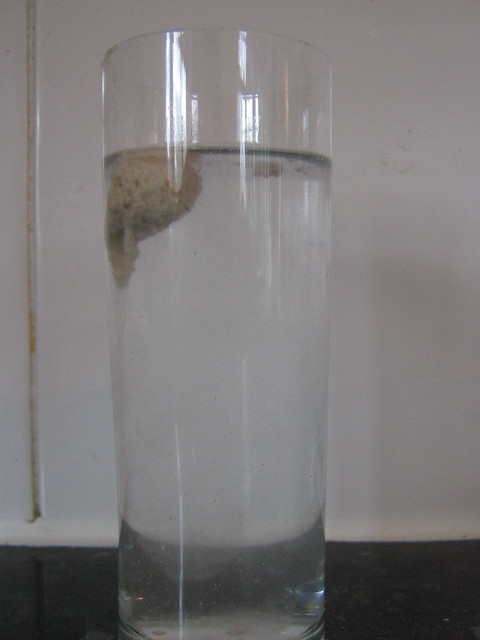
Ok, the starter is ready lets go!
Rye porridge and double fermented rye
I've been obsessed with trying to bake a decent Tartine 3 style loaf for about a year and it's been ups and downs. Mostly downs. I find myself constantly troubleshooting and often unable to untangle the catalogue of errors which has contributed to sub-optimal bread. If there is any reason other than blind determination that I continue it is that baking bread is grounding and helps with reconnecting with reality. There is something a little zen or mindful about doing almost the same thing, trying to attend to and accommodate the details. If I've learnt anything its that I'm an impatient perfectionist who needs to listen to the dough and avoid drift off into day-dreaming.
Pre-fermented Rye
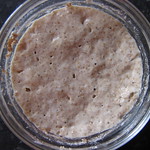
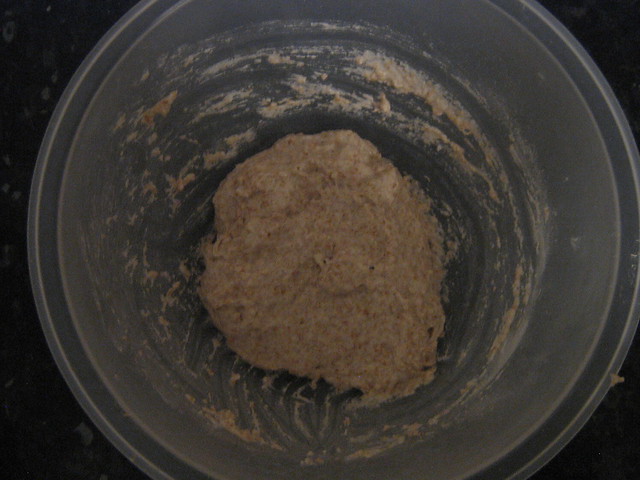
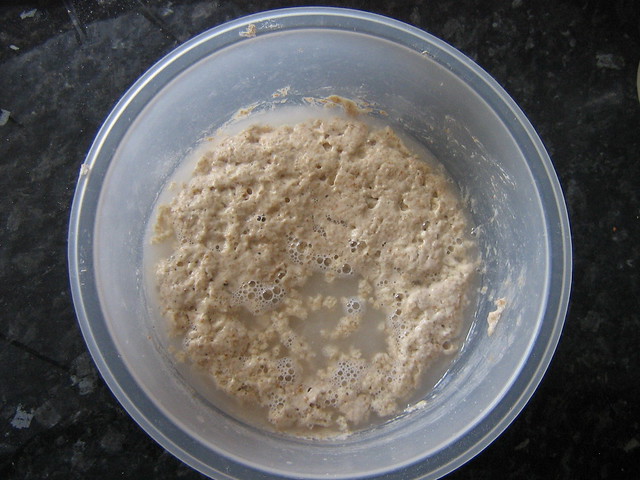
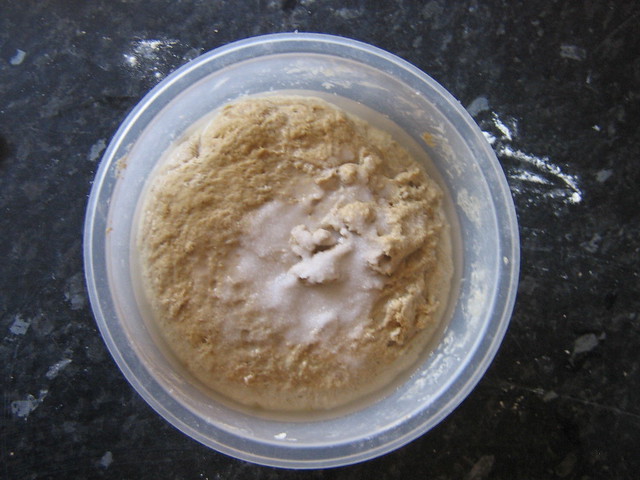
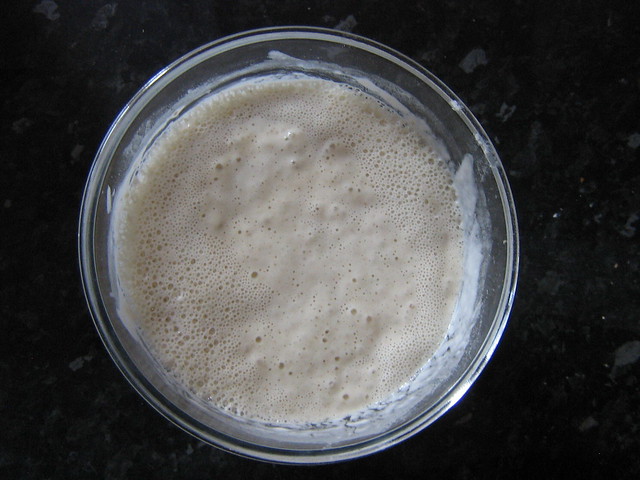
The double fermented rye bread started two days before when I mixed up 150g chopped rye and 300g of water with 1 tsp of starter. This mixture became quite active producing bubbles and separating slightly within a few hours. By the evening before bake day (36hours later) it looked like this:
The smell was quite mild and creamy rather than tangy.
Leaven
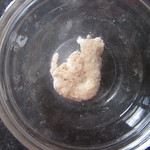
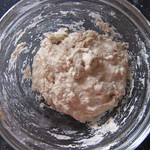
For each type of bread, I mixed 90g water, 20g starter, 50g white flour and 50g wholemeal flour to make a leaven to rise the bread, covered the mixture with clingfilm and left it on the counter. This was ready in about 10hours (probably shorter but I didn't get round to mixing the dough for 10 hours).
Although this is double the percentage leaven than used in a typical Tartine 3 recipe (formula below), I settled on this after trying the modifications suggested by the weekendbakery. More leaven helps the dough rise enough in cooler conditions and by changing the temperature of the water in the final mix can somewhat balance out that it has only been about 20-22C in my kitchen. Temperature is definitely the most uncontrollable factor and has lead to disappointing results many a time.
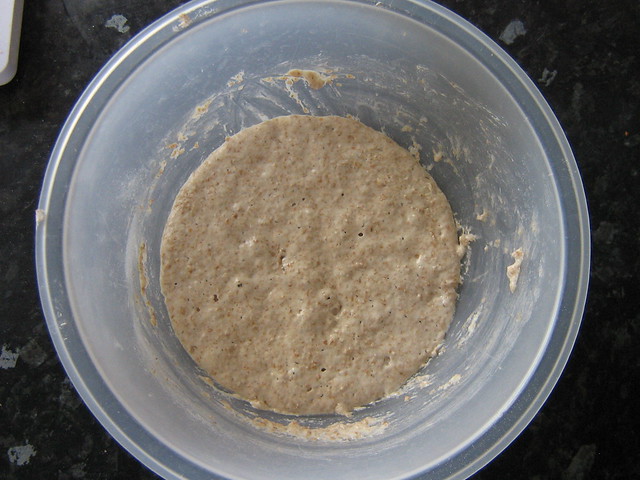
After 10 hours the leaven looks bubbly and collapsed slightly when wobbled a sure sign that I should have got up a couple of hours earlier!
Rye porridge and a fermented rye porridge
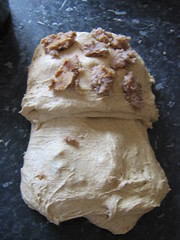
For the rye porridge I simmered 150g of chopped rye in 300g of water until no water remained. The porridge was beginning to become gelatinous and stick to the bottom of the pan a little. I covered the mixture and let it cool for about 2 hours.
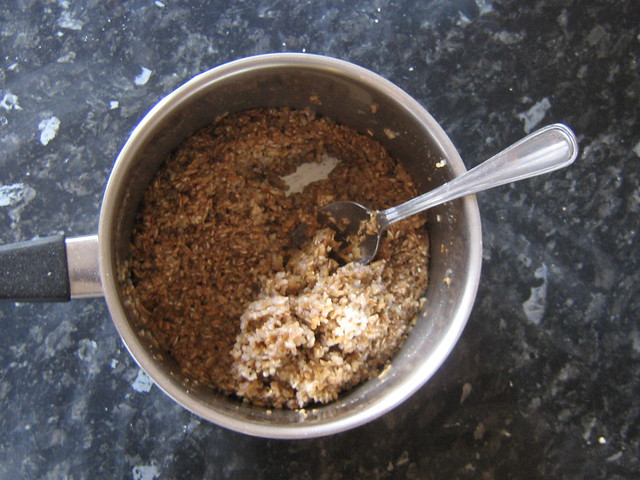
At this point, I looked at the fermented rye chops and felt worried. How active was that mixture? After 48 hours plus stirring could it raise bread on it's own or would be have peaked long ago? In my fear I decided to deactivate it and rely on the yeast in the leaven instead. So it went in a pan as well and I gently heated it to just below boiling. The mixture was a pink/purple colour and a lot more smooth than the rye porridge.
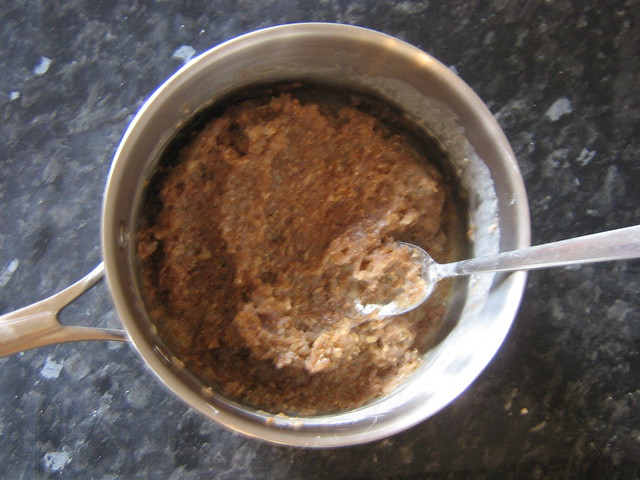
I guess this a fermented rye porridge apparently this is a half decent breakfast already and somehow that felt reassuring. Adding pre-fermented rye along with all the active enzymes and yeast will have to wait for another blog post.
Premix
Rather than use a commercially produced high-extraction flour, I use a sieve with a #30 screen to remove some of the larger bran particles from wholemeal flour. The result is about 80% extraction flour, i.e. if I start with 1kg of wholemeal flour, about 800g passes through the sieve and is used in the bread, the rest is larger bits of bran or wheatgerm which is discarded.
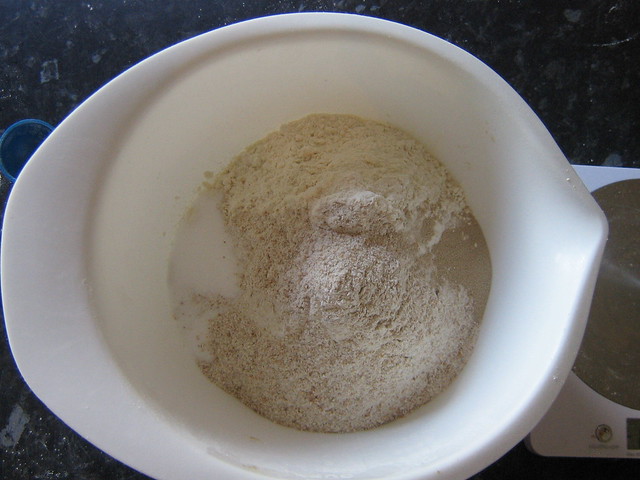
I added 490g water (about 32C), 50g wheatgerm and mix of white (350g) and sieved wholemeal (350g) to each bowl of leaven. Into one of these premixes I added 35g of molasses. Once roughly mixed it is time for an autolyse phase so that the flour can absorb all of water properly.
I used this free time to take the now desperate looking dog for a run around the park.
Mixing and stretch-and-folds
Approximately 45 minutes later, I added 18g of salt and 35g of water too each bowl of dough and mixed this in gently.
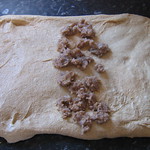
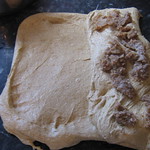
After 30 minutes rest, I gave the rough a stretch-and-fold in the bowl. This is kind of difficult to take pictures and my technique is far from perfect but it is well explained here. After another 30 minutes it was time to mix in the porridges.
 |  |  |  |
 | 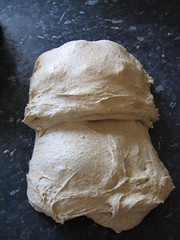 |  |  |
I then repeated the process of wait 30 minutes, stretch-and-fold the dough another 4 times. Finally, I left the dough to rise for an additional hour.
Shaping and final proof
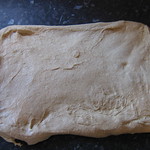
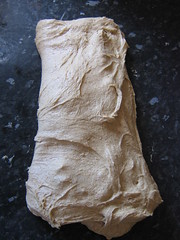
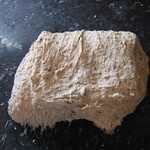
The dough was now ready to be shaped and placed in the bannetons. The dough was half poured, half scraped out of the bowl and roughly divided in half.
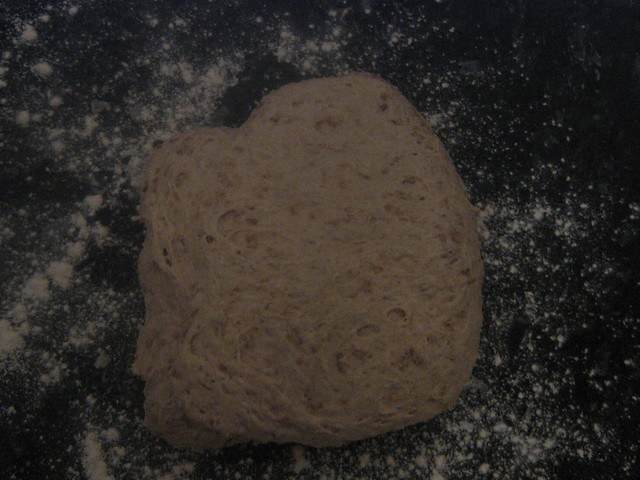
I then gently preshaped the dough and left the pieces to rest of 20 minutes while washing up and cleaning loose flour off the bannetons. This is tricky to photograph as the dough was quite sticky. However, weekendbakery have an amazing demo on how to shape round loaves.
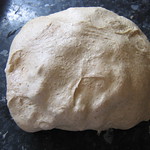
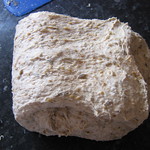
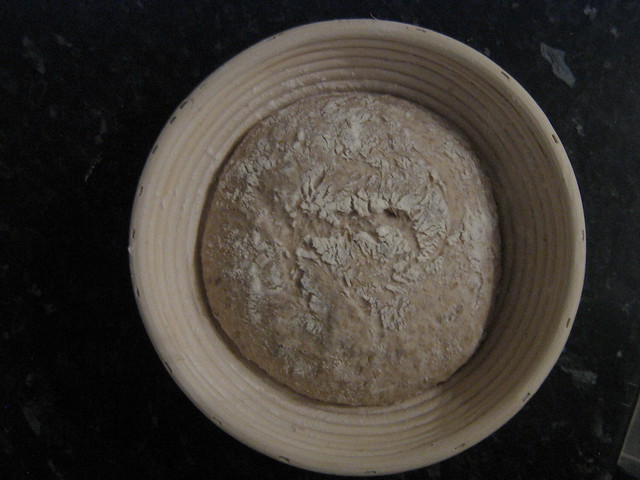
I dusted the bannetons with rice flour and shaped the dough again slightly more tightly.
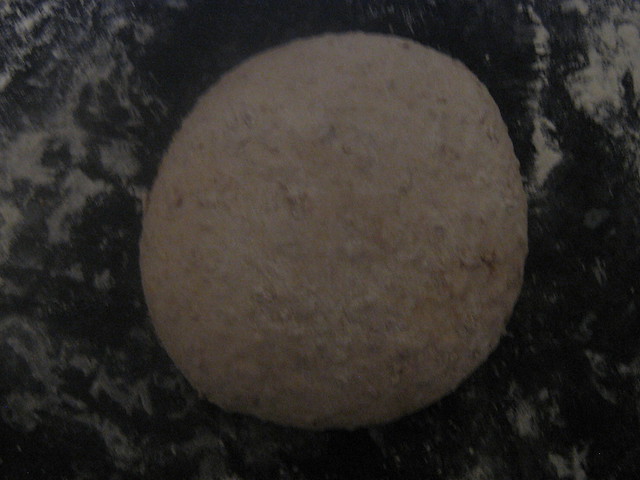
(The difference in colour is that the pre-shaped loaf was the double fermented porridge which contained additional molasses, whereas this one is rye porridge.)
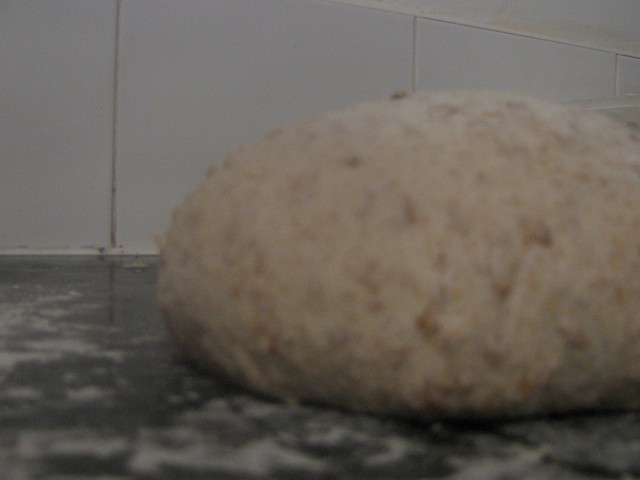
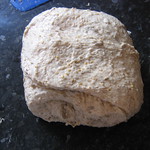
After shaping the dough is still soft and difficult to handle but curves a little rather than oozing over the work surface. If the dough completely refuses to hold its form at this point, usually I've pushed the amount of water added over the edge. Sometimes it is difficult to guess with these porridge breads and the extra water in the porridge takes a while to blend in with the rest of the dough.
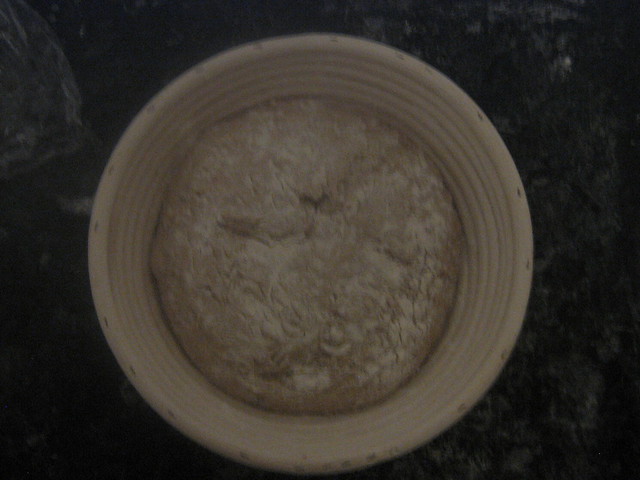
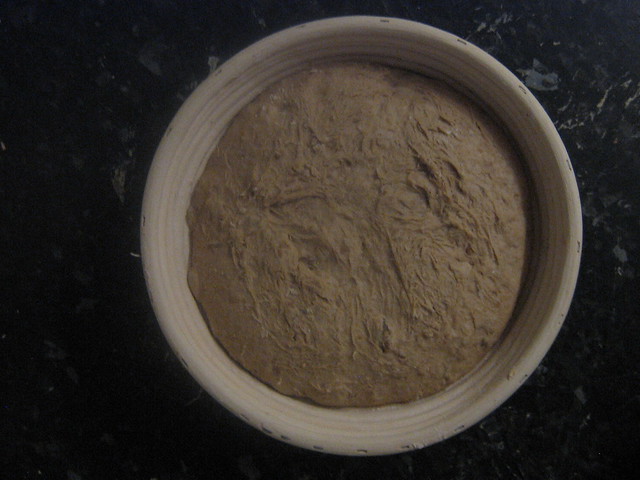
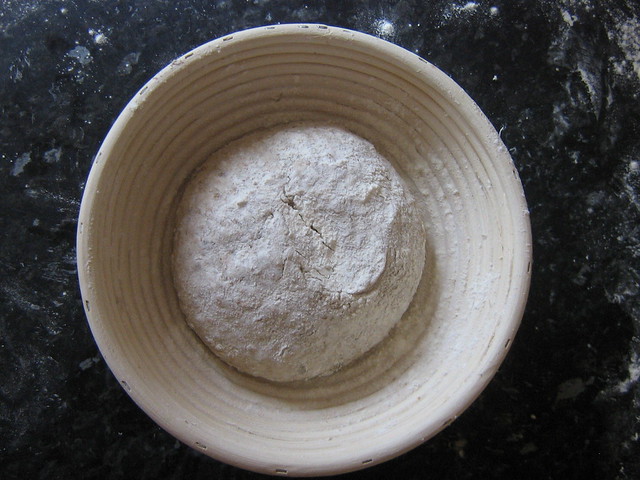
I placed the dough in the bannetons and left it to rise for about 2 hours. The picture on the left is the rye porridge dough just after it was shaped and on the right is the double fermented rye porridge bread just before it was baked.
Scoring, baking and afterwards
The bread was scored with scissors because as a novice baker this just seems easier and less messy with high-hydration doughs. The photographs on the excellent blog TartineBreadExperiment have helped me a lot with how to cut to get a much better oven spring. (1) Deep snips about an inch into the bread at 45 degrees or more from parallel with the top of the loaf. I was snipping too close to parallel and the bread was not blooming much at all (2) Snip in a straight line, after baking this will give a curved shape. Previously I often snipped in a curve which does not cause the loaf to open in a curve! (3) Only snip across the top of the loaf. I often made too many cuts, destroying the tension in the sides of the loaf and causing the dough to expand more sideways than upwards.
Despite hearing rave reviews of baking bread in a dutch oven, I have decided against and bake these breads on unheated baking sheets directly in the oven at 220C for 45 minutes. Madness, I hear you mutter, yes probably. Yet the oven is a bit broken and I get a massive face full of steam when opening it, so somehow it could be worse. However, while I'm still able to improvement and get good enough results without a dutch oven, so I will continue.
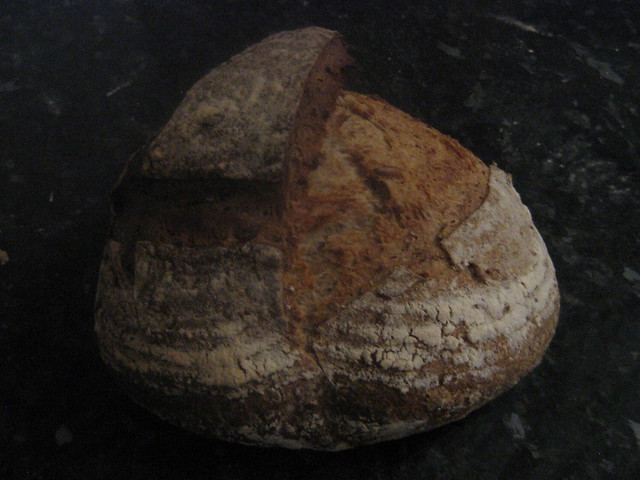
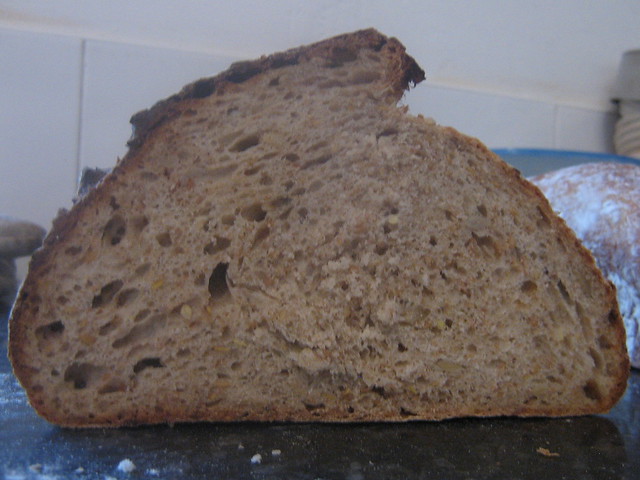
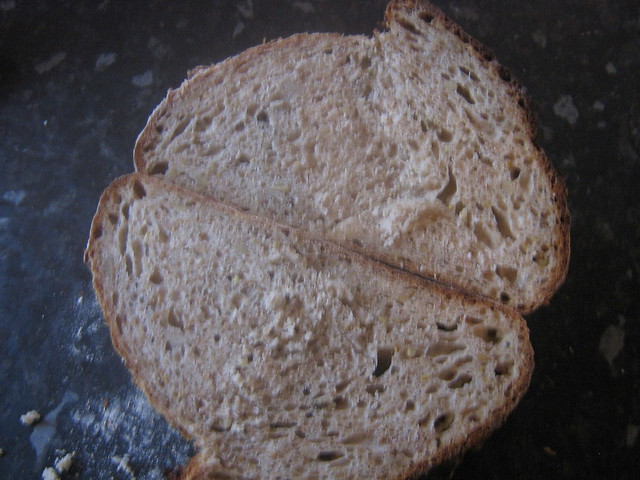
Anyway enough rambling here are some pictures of the final bread.
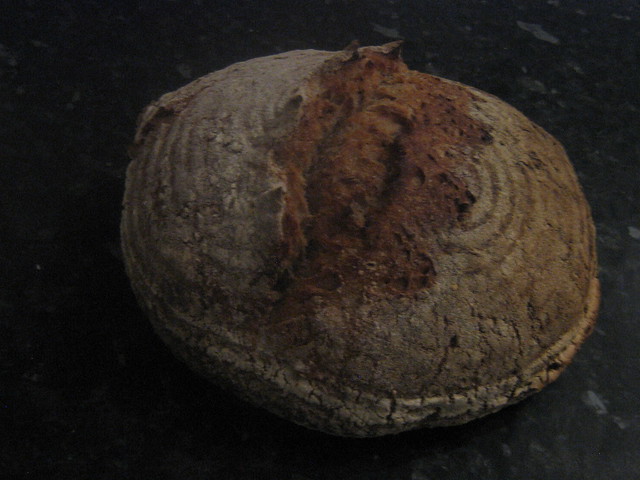
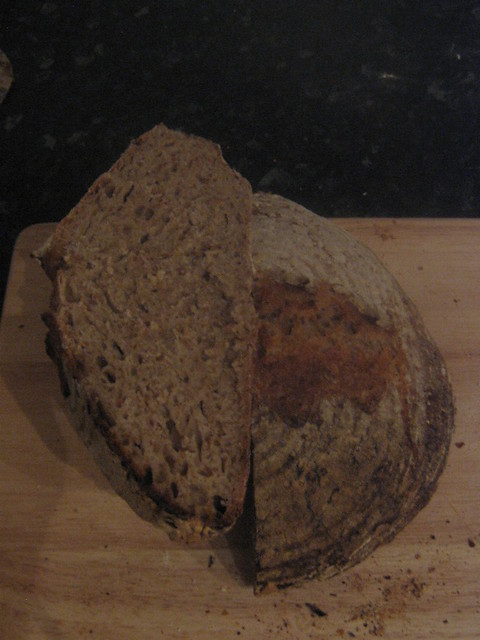

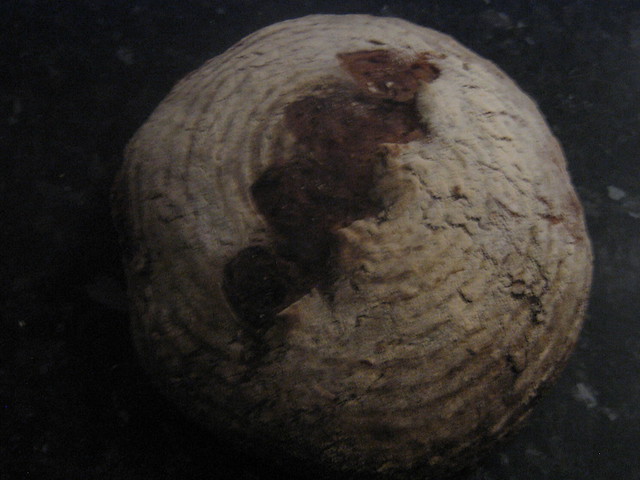
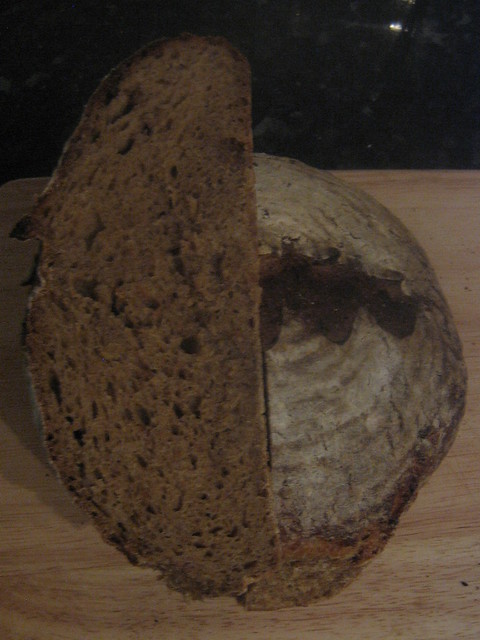
The taste of the molasses was strong in the double fermented porridge bread. I would be tempted to reduce this further or remove it to see if there is a significant difference in taste between the two recipes. Both have a very soft texture characteristic of porridge breads went very well with both soup and aubergine and goats cheese gratin. Both loaves had an excellent shelf life and I was still eating the double fermented rye porridge bread with butter and honey for much 5 days later. Yum.
Formulae
The hydration in both cases is a guess as I did not weigh the porridge after it was cooked so do not know how much water evaporated.
Rye Porridge Bread:
40% White flour
35% Sieved wholemeal flour
15% Chopped Rye
5% Wholemeal flour
5% Wheatgerm
91.5% Water *(see comment above)
1.8% Salt
Double fermented Rye Porridge Bread:
40% White flour
35% Sieved wholemeal flour
15% Chopped Rye
5% Wholemeal flour
5% Wheatgerm
91.5% Water *(see comment above)
3.5% Molasses
1.8% Salt
Finally, this week I baked a couple of extra loaves to try to seduce an ex-colleague into eating my bread regularly. As I have a limited amount of bannetons to hold the bread while proofing, I returned to Hamelman's “Bread” to one of my all time favourite bread recipes which could easily be ready to bake before the rye porridge bread needed to go into the bannetons.
“Five grain” bread
The night before making the bread, I built a leaven using white bread flour, water and some of my starter. It was a sloppy liquid mess.
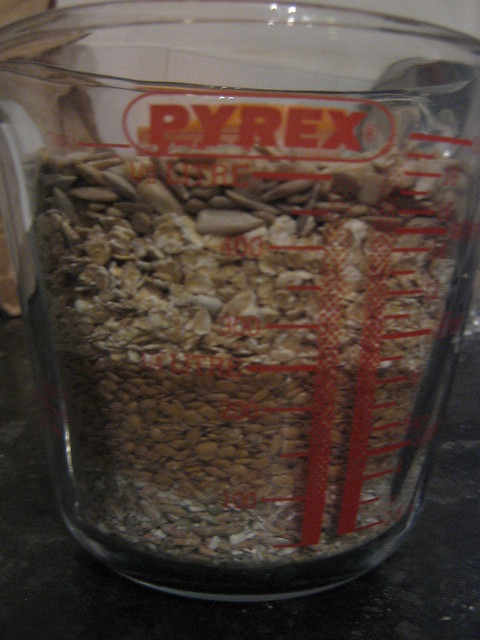
The added grains in this bread are soaked overnight in boiling water with a little salt. The salt is needed to slow down the enzyme activity in this grain mixture. From bottom to top there are chopped rye, flaxseeds, rolled oats and sunflower seeds.
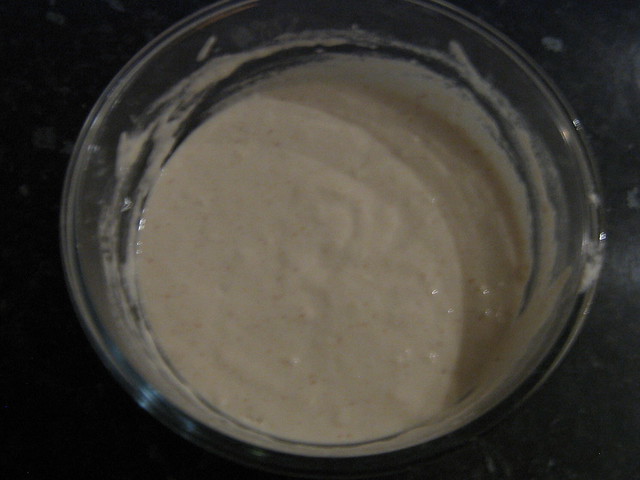
About 16 hours later, it's time for the final mix. The leaven mixture now looks more like milkshake.
First I weighed out the dry ingredients, white flour, wholemeal flour, salt and dried yeast.
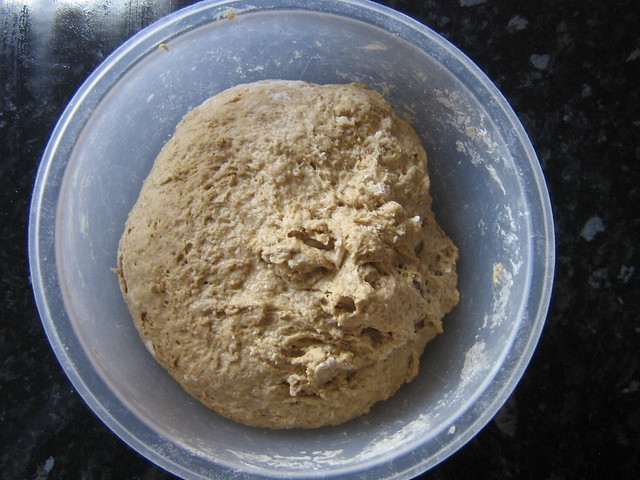
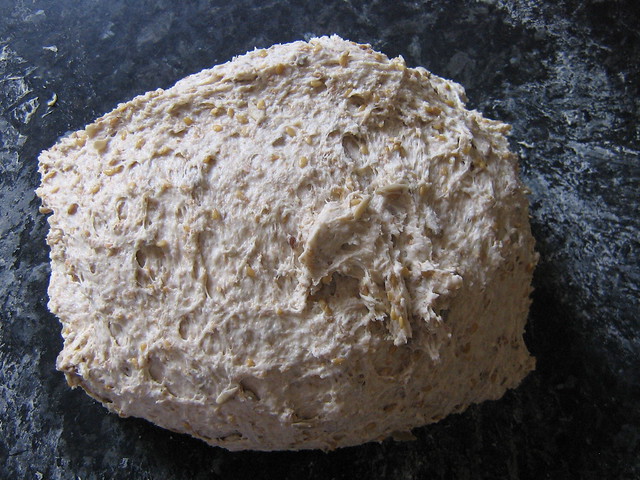
Then added more water, all of the leaven and all of the soaker mixture and mixed everything by hand until roughly combined. Unfortunately, there is no picture at this stage as I was just too messy and sticky to operate it property! I kneaded for about 8 minutes using the 'slap-and-fold' method illustrated wonderfully by Richard Bertinet in this video. It was neither so graceful or tidy as bits of flaxseed have a tendency to splatter the whole kitchen. Here is the dough afterwards.
I left the dough to rise for 45 minutes before giving it a 'full-letter-fold'. The dough is turned out on the surface. I picked up the end facing me and gently pulled towards me before laying the stretched dough on top of itself. Next for the side furtherest away from me, followed by each side.
 |  |  |  |
Now, the dough goes back in the bowl and is left to rise for another 45 minutes.
I gently removed the dough from the bowl and divided into 3 small pieces, about 700g each. These I shaped into a round using the method in this video but much much much more slowly! The loaves then went into the bannetons dusted with rice flour for a final rise lasting about 2 hours. Here is a before and after picture.
My kitchen is about 22ºC at the moment so a bit below the 25ºC used in the recipe. Although this is only a little bit, the yeast slows up considerably so final rise times are quite variable. I turned the loaves out of the bannetons onto baking sheets lined with paper, scored the tops as well as I could and baked them in a preheated oven at 200ºC for 45 minutes. Here is a couple of shots of the final product.
This bread makes truly amazing toast. I'm going to try to improve my photography and make sure all of the pictures are in focus next time. :)
Happy Baking!