As my go-to bread, I am forever searching for the perfect loaf of oat porridge bread. Most of the oat porridge loaves have been disappointing. Some have been over-hydrated, difficult to shape and flat; others have been under-proofed and yet more have a tight crumb of undiagnosed cause. The formula gets baked and tweaked and baked again yet still seems to show all of the minor flaws in my techniques and timings. It is getting to the point of being incredibly frustrating and disappointing to see my own flaws so amplified in one of my favourite type of bread.
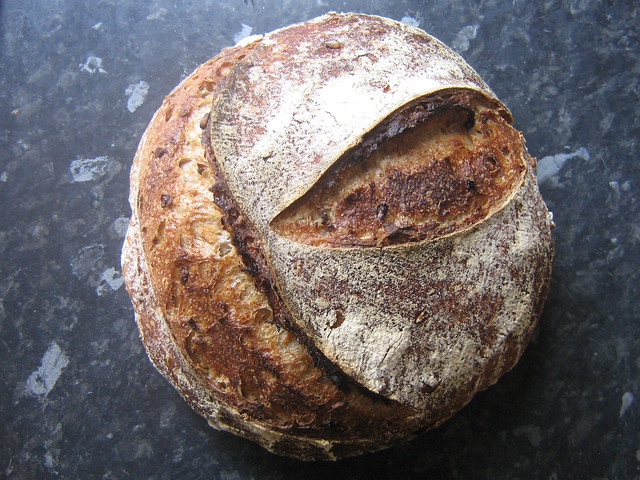
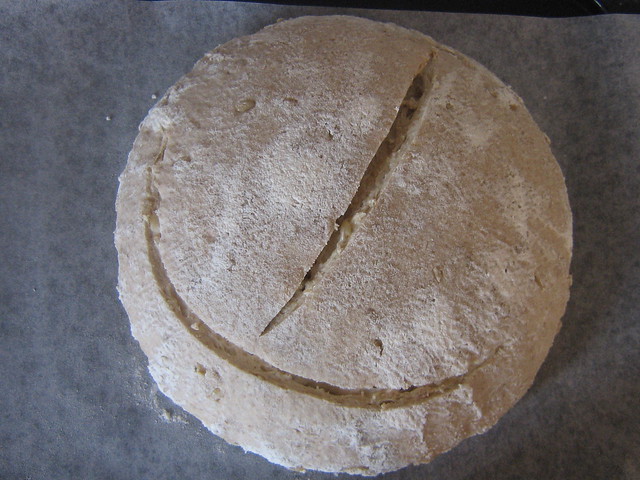
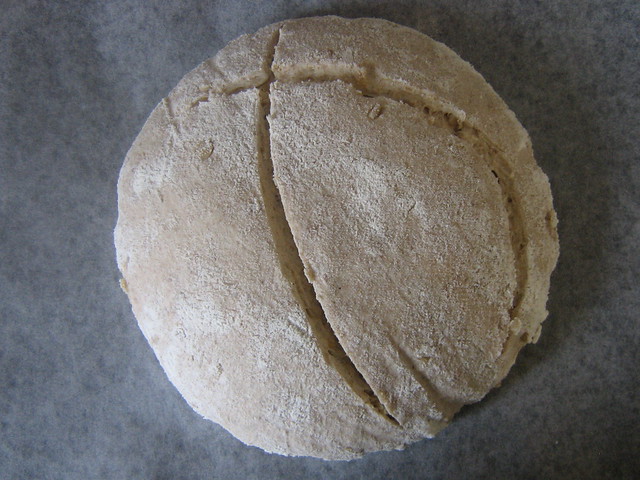
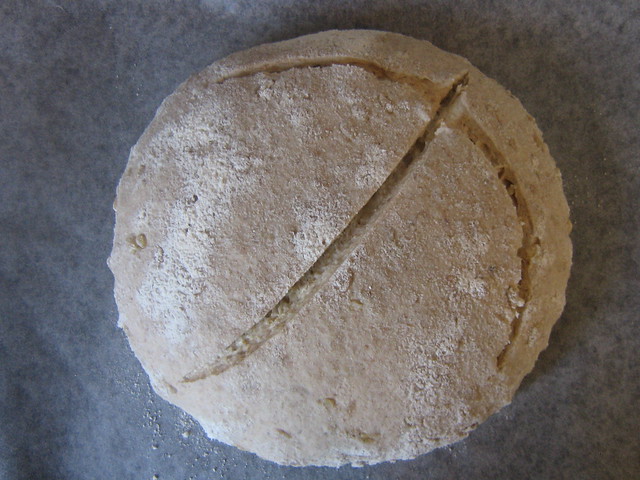
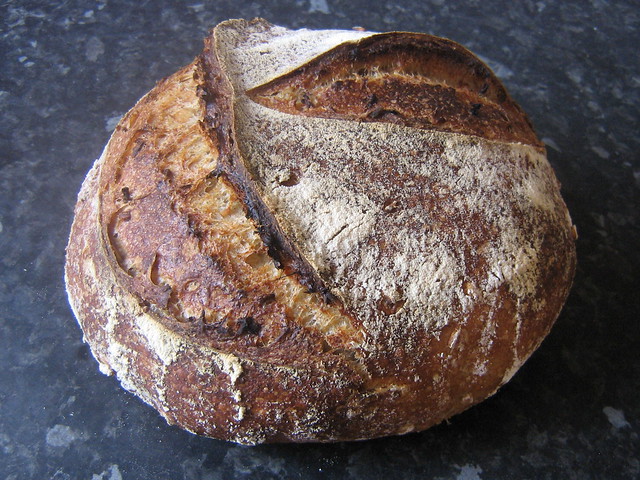
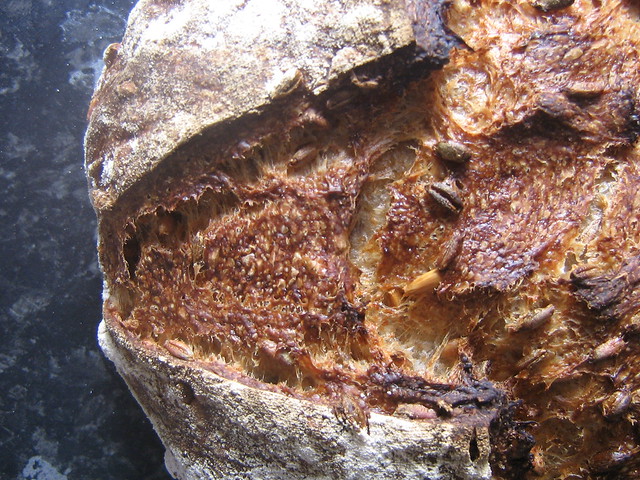
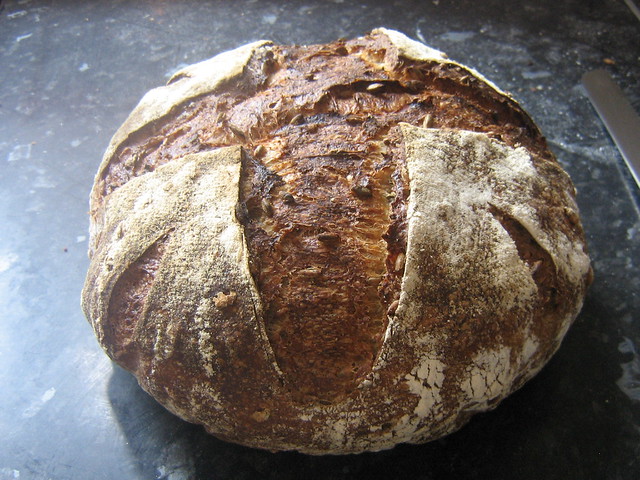
Recently, I've been practising and improving the scoring on all loaves to try come up with some ways of allowing the dough to bloom as much as possible and improve the aesthetic of the finished loaves. It is gratifying to lift the lid on the dutch oven after steaming to see what pattern my scoring created. As illustrated by the first set of loaves in this post, the joy of beginning to improve scoring only amplifies the disappointment when the crumb does not measure up to the sky high expectations set by the crust.
Oat groat porridge bread
During the summer, I was tempted into splurging on a few bags of whole grains, one of which was oat groats. Initially I had hoped to sprout these but when soaked, drained and left for 24 hours most of the grains swell a little and the germs plump up as though ready to sprout but they then stop. Most likely the groats have been heat-treated in order to stabilise the groats and extend shelf life.
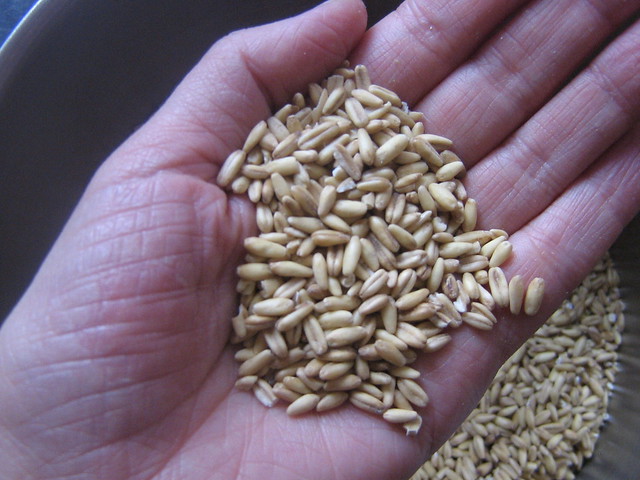
As an alternative, I boiled one part groats to 3 parts water (by weight) for about 15-20 minutes until all of the water was absorbed. The resulting porridge is quite similar in texture to rice-pudding.
| Ingredient | Weight |
|---|---|
| Oat groats | 150g |
| Water | 450g |
These cooked oats were added into the standard base dough for all of the porridge bread recipes from Tartine #3. I aimed to make three medium sized boules with approx 400g flour in each.
| Ingredient | Weight | Bakers percentage |
|---|---|---|
| High extraction wheat flour | 600g | 50% |
| White bread flour | 600g | 50% |
| Wheat germ | 84g | 7% |
| Water | 960g | 80% |
| Leaven | 180g | 15% |
| Salt | 30g | 2.5% |
| Cooked oat groats | 600g (approx) | 50% (approx) |
All ingredients except the salt and oat groats were mixed together and left for a 60 minute autolyse. After the autolyse, the salt was added and the dough was folded every 30 minutes for 2.5 hours. The cooked oats were added the first time the dough was folded. The total bulk fermentation for these loaves was only 3.5 hours due to having other obligations making it hard to delay shaping the loaves. This was a shame as the dough felt sluggish and could have done with more bulk fermentation – possibly closer to 5 hours like the polenta porridge bread last week. To compensate a little the shaped loaves were retarded for about 20 hours.
 |  |  |
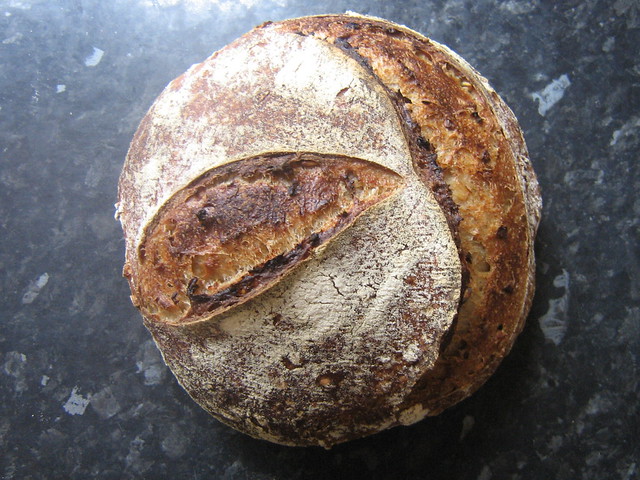 | 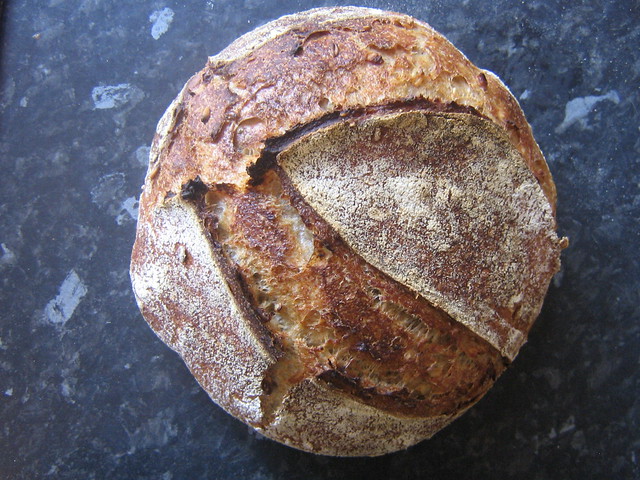 | 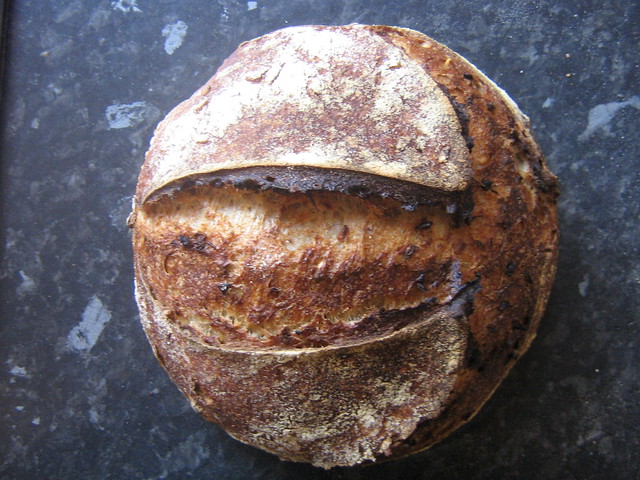 |
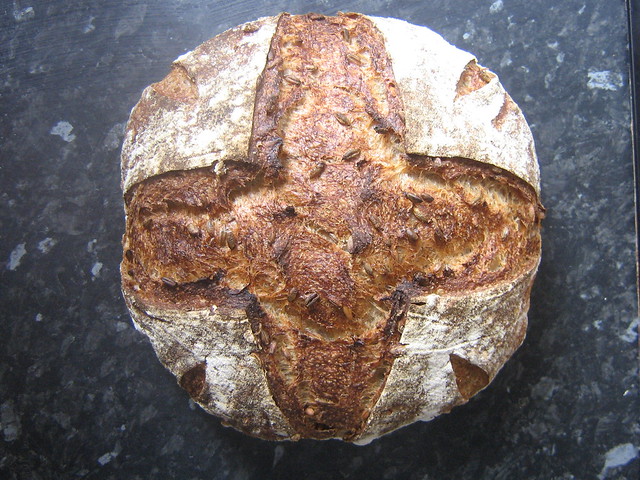
I'm really pleased with the scoring and may use a couple of these patterns instead of the spiral cut which doesn't seem to allow as much oven spring.
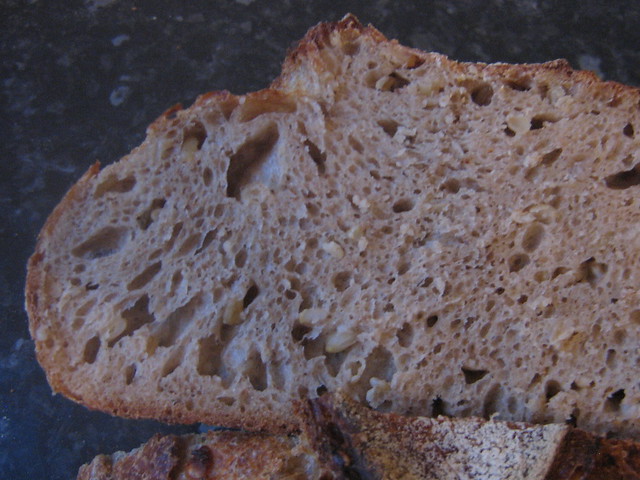
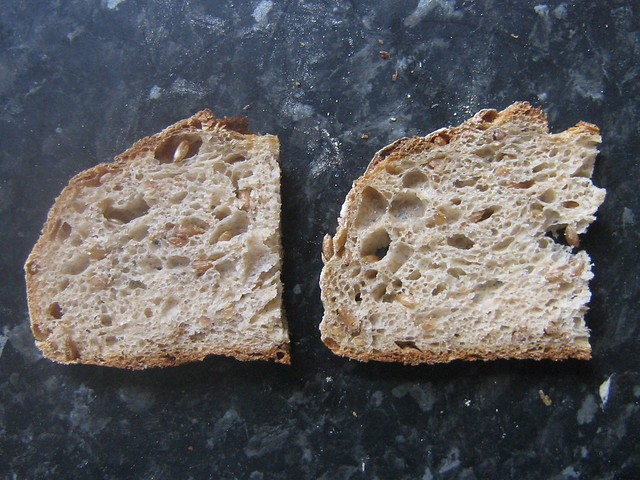
Despite the crust and bloom being attractive, the crumb shot does show that the loaves could have had a little more fermentation time as the edges are substantially more open than the middle of the loaf. Although, the taste was quite close to that of the standard oat porridge bread made with rolled oats the texture was improved by the oat groats being slightly chewier and similar to having sprouted whole grains in the bread.
Sprouted Rye Loaf
This loaf is worth a mention for a couple of reasons. Firstly as it generated a clue as to another variable I could adjust in the never-ending quest for perfect oat porridge bread and secondly as the beginnings of a formula that I can finally call my own.
My usual starter lives on the counter top and is fed every morning a 1:2:2:4 ratio of starter, bread flour, whole wheat flour and water. The temperature in the kitchen is a stubborn 66-70F in the daytime and dips quite a bit at night so the starter lives on one feed a day for most of the week with 2 feeds per day in the run up to bake day. I've been managing my starter like this for about a year (with additional feeding in hot weather), it leavens bread just fine so I've had no reason to complain. I took a few days to convert a bit of this starter into a rye starter as I'd read somewhere that wheat starter can need time to adjust to being fed rye flour. After a single feeding this appeared to have been way too pessimistic.
The starter loves eating wholemeal rye! Seriously, it was climbing out of the bowl trying to find more… The starter fed with rye was making its wheat cousin look slow and cumbersome by bubbling ferociously after 4 hours. This has lead me to wonder whether it would a good idea to try the oat porridge bread with a rye leaven… perhaps next week.
| Ingredient | Leaven (weight) | Final mix (weight) | Baker's percentage (Total) |
|---|---|---|---|
| Wholemeal Rye flour | 150g | 100g | 21.7% |
| Wholemeal Wheat flour | 200g | 17.3% | |
| White bread flour | 700g | 61% | |
| Water | 150g | 700g | 74% |
| Sprouted rye grains | 360g | 31% | |
| Salt | 25g | 2.2% | |
| Honey | 50g | 4.3% | |
| Butter (melted) | 40g | 3.5% |
- (Day 1) Mix leaven ingredients with 25g rye starter and leave at room temperature for approx 12 hours.
- (Day 2) Mix all flours and water, cover and leave for a 40 minute autolyse.
- Add 300g of rye leaven and mix well until combined, leave for 30 minutes.
- Add salt and fold the dough until combined and leave for 30 minutes.
- Add remaining ingredients and fold into dough. Fold the dough 2-4 times every 30 minutes for an additional 2 hours.
- Total bulk fermentation should be about 4.5 hours at 68-70F.
- Shape the dough gently into boules and retard in the fridge.
- After 4 hours the loaves were ready to bake as the dough was expanding out of the banettons!
- Bake in preheated dutch oven, 20minutes covered at 250C, 10 minutes covered at 200C and 20minutes uncovered at 200C.
These loaves darkened a lot more quickly than usual once the lid of the dutch oven was removed due to the added honey. Perhaps next time I would consider reducing the oven temperature a little further.

In terms of crumb, I'm pleased with the outcome. This bread is a bit like a posh version of mighty white a bread I was obsessed with as a child – which is a good thing.
Happy Baking!
No comments:
Post a Comment